xMASAx Special Presents
JSC(Johnson Space Center) Tour ジョンソン宇宙センタ・ツアー
- The Lyndon B. Johnson Space Center (JSC) is the National Aeronautics and Space Administration's Manned Spacecraft Center,
where human spaceflight training, research, and flight control are conducted. - It was built and leased to NASA by Joseph L. Smith & Associates, Inc.
- It was renamed in honor of the late U.S. president and Texas native, Lyndon B. Johnson, by an act of the United States Senate on February 19, 1973.
- It consists of a complex of one hundred buildings constructed on 1,620 acres (660 hectares) in the Clear Lake Area of Houston,
which acquired the official nickname "Space City" in 1967. - The center is home to NASA's astronaut corps, and is responsible for training astronauts from both the U.S. and its international partners.
- It has become popularly known for its flight control function, identified as "Mission Control" during the Gemini, Apollo, Skylab, Apollo–Soyuz,
and Space Shuttle program flights. - Photos below were taken on Sep. 2007.
Photo |
Caption |
説明 |
|---|---|---|

|
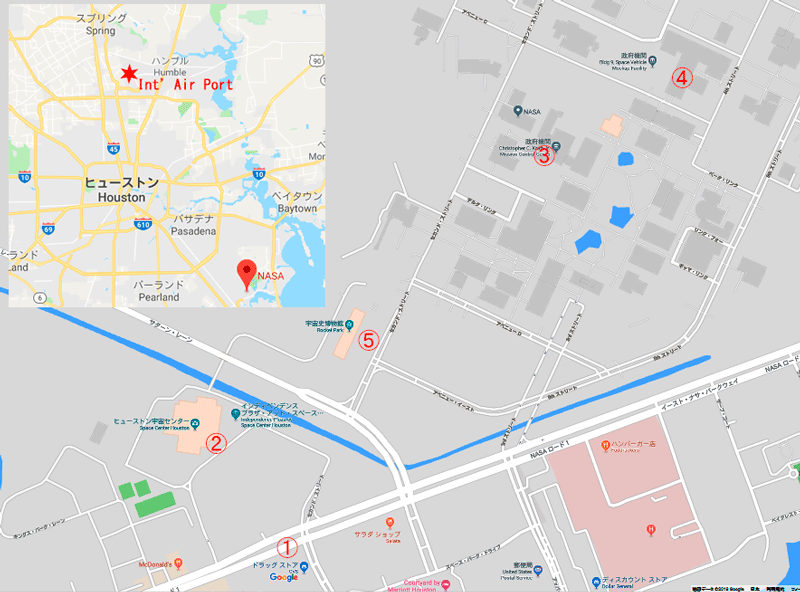
[ JSC Map ]This map shows some shooting points and locations of major facilities in Johnson Space Center(JSC): |
【JSCの地図】この地図は、撮影場所と主なJSCでの主要施設の場所を示す:
|
|
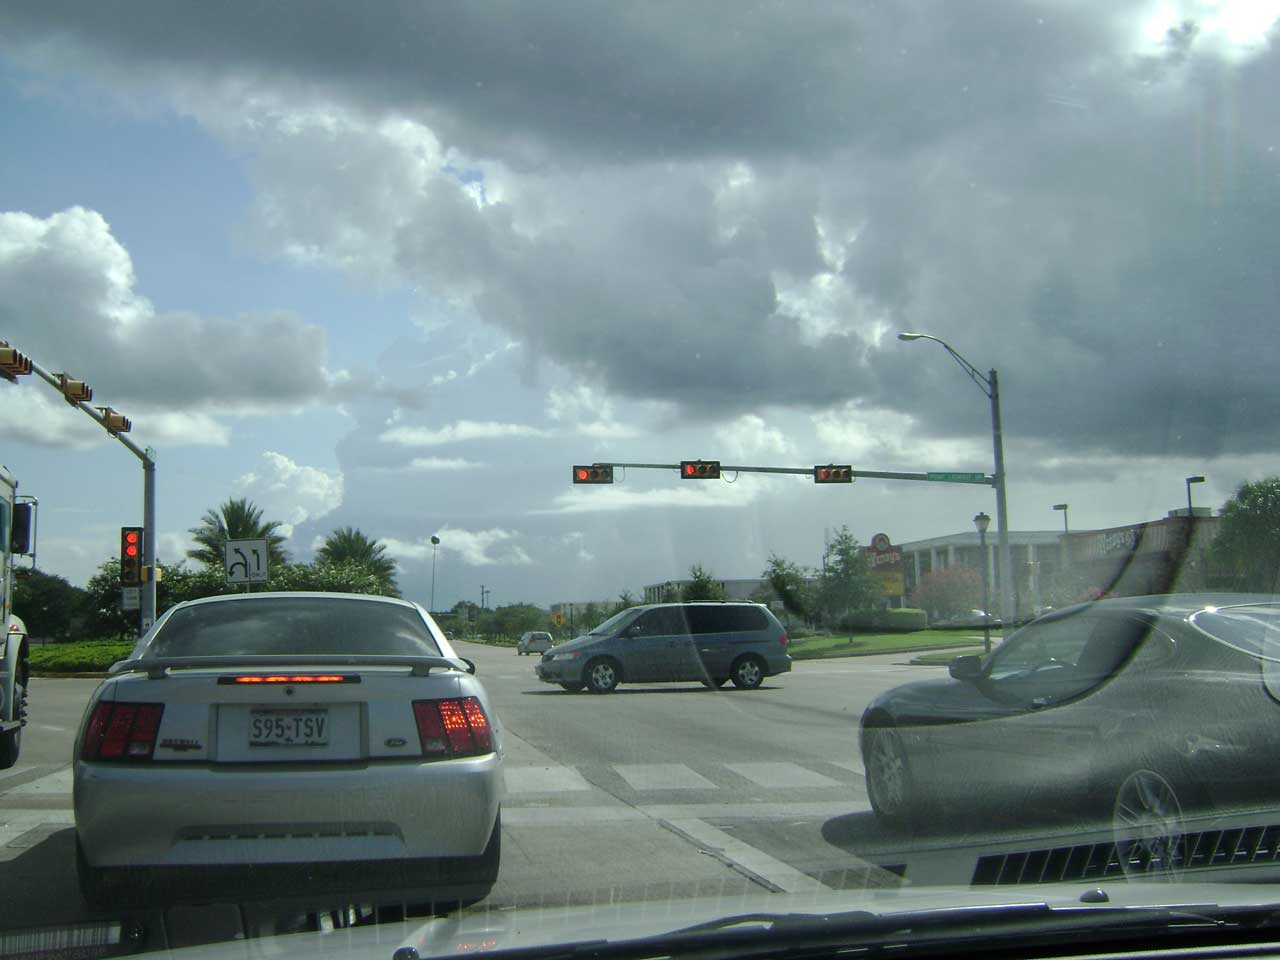
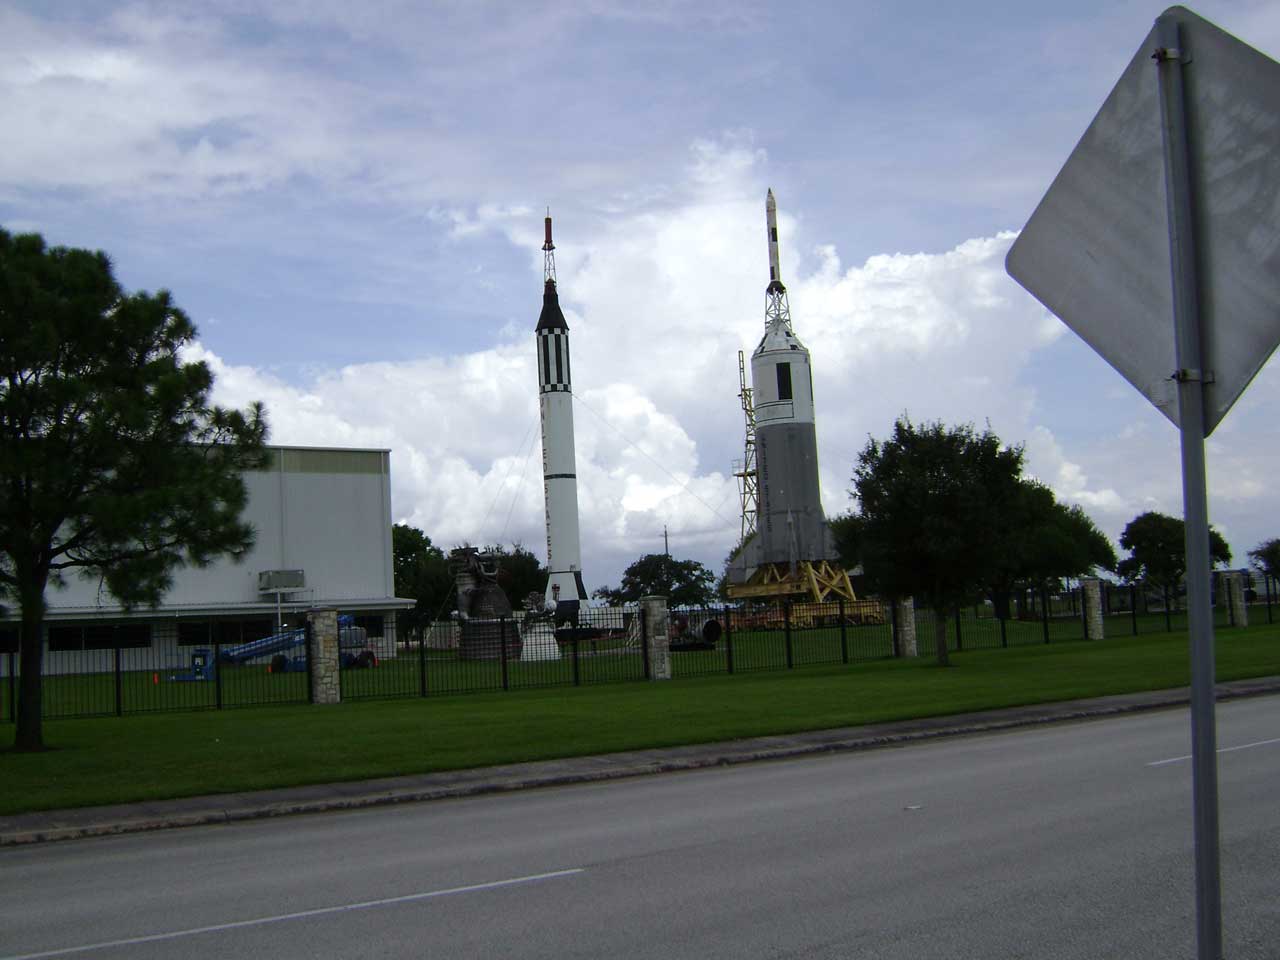
1. Intersection in front of JSC
|
1. JSCの手前の交差点
|
|
3. MCC in Building 30
|
3. ミッションコントロールセンタのある建屋30
|
|
4. SVMF
|
4.宇宙船モックアップ施設
|
|
5. Rocket Park
|
5. 宇宙史博物館
|
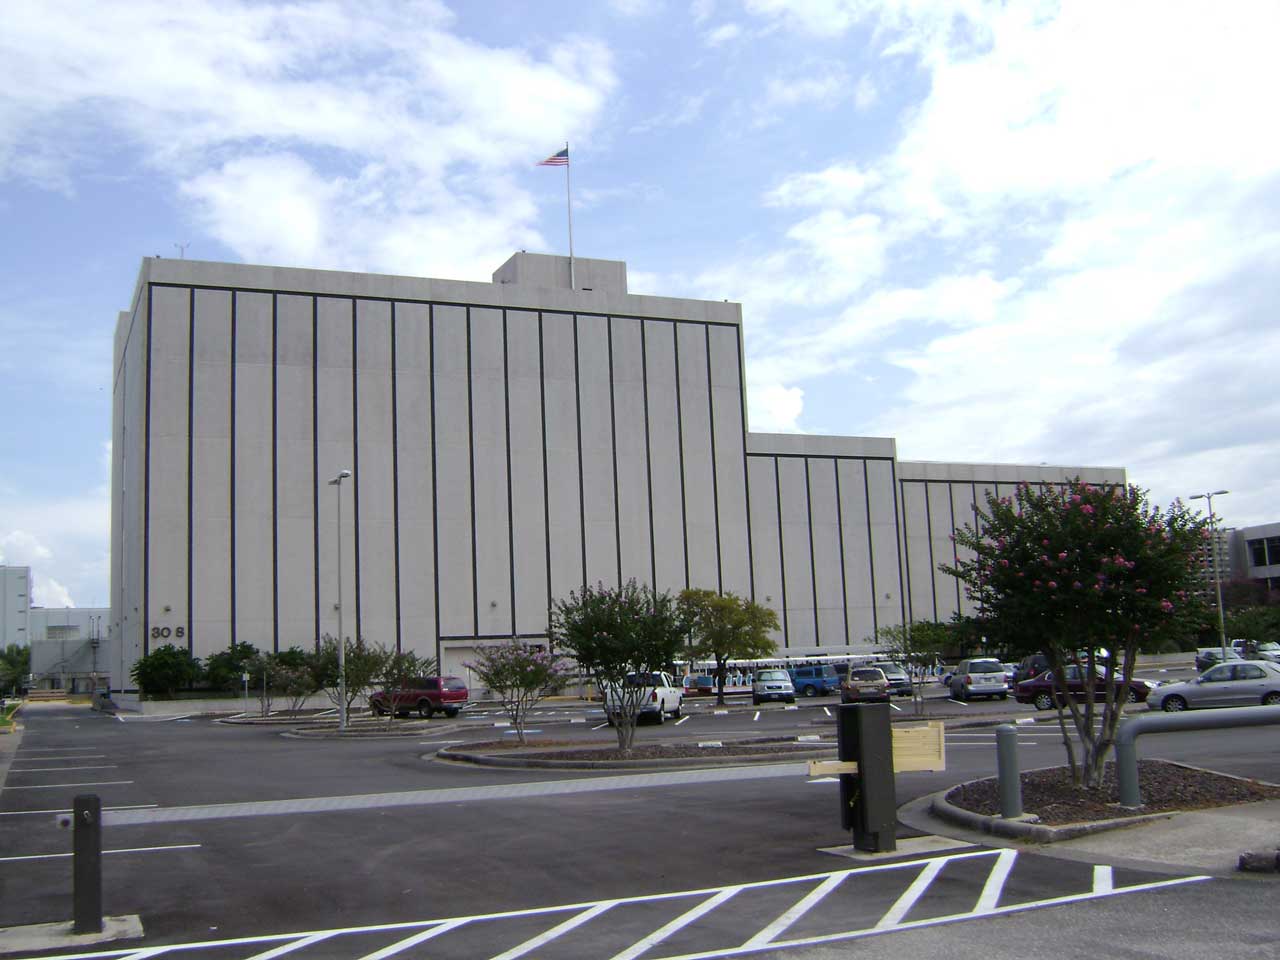
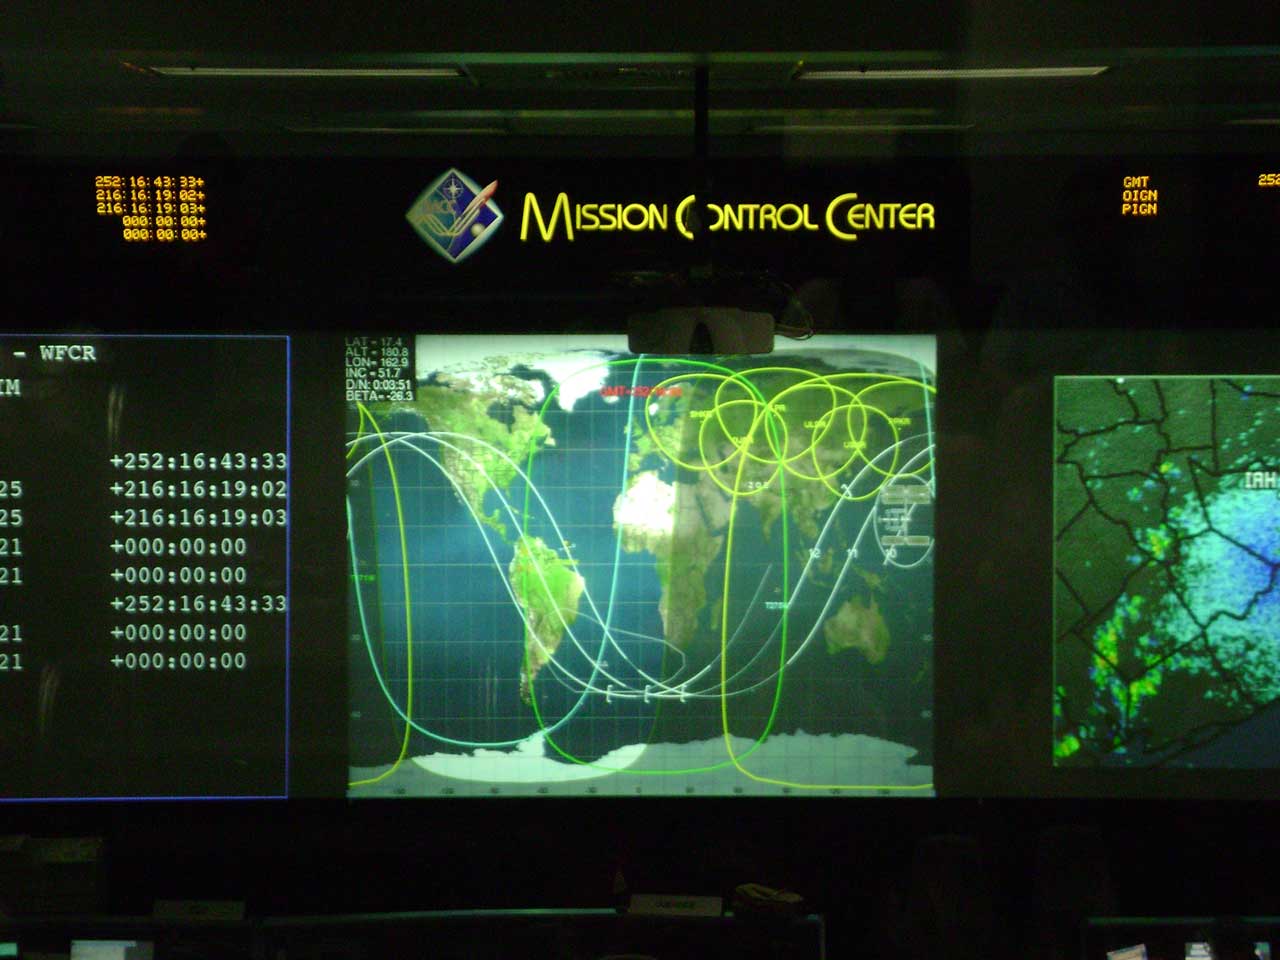
3.MCC(Mission Control Center) Room
- NASA's Christopher C. Kraft Jr. Mission Control Center, also known by its radio callsign, Houston, is the facility at the Lyndon B. Johnson Space Center
in Houston, Texas that manages flight control for America's human space program, currently involving astronauts aboard the International Space Station (ISS). - The center is in Building 30 at the Johnson Space Center which is named after Christopher C. Kraft Jr.
- The MCC houses one operational control room in Building 30 from which flight controllers command, monitor, and plan operations for the ISS.
- This room has many computer and data-processing resources to monitor, command and communicate with the station.
- The ISS control room operates continuously.
Photo |
Caption |
説明 |
|---|---|---|
|
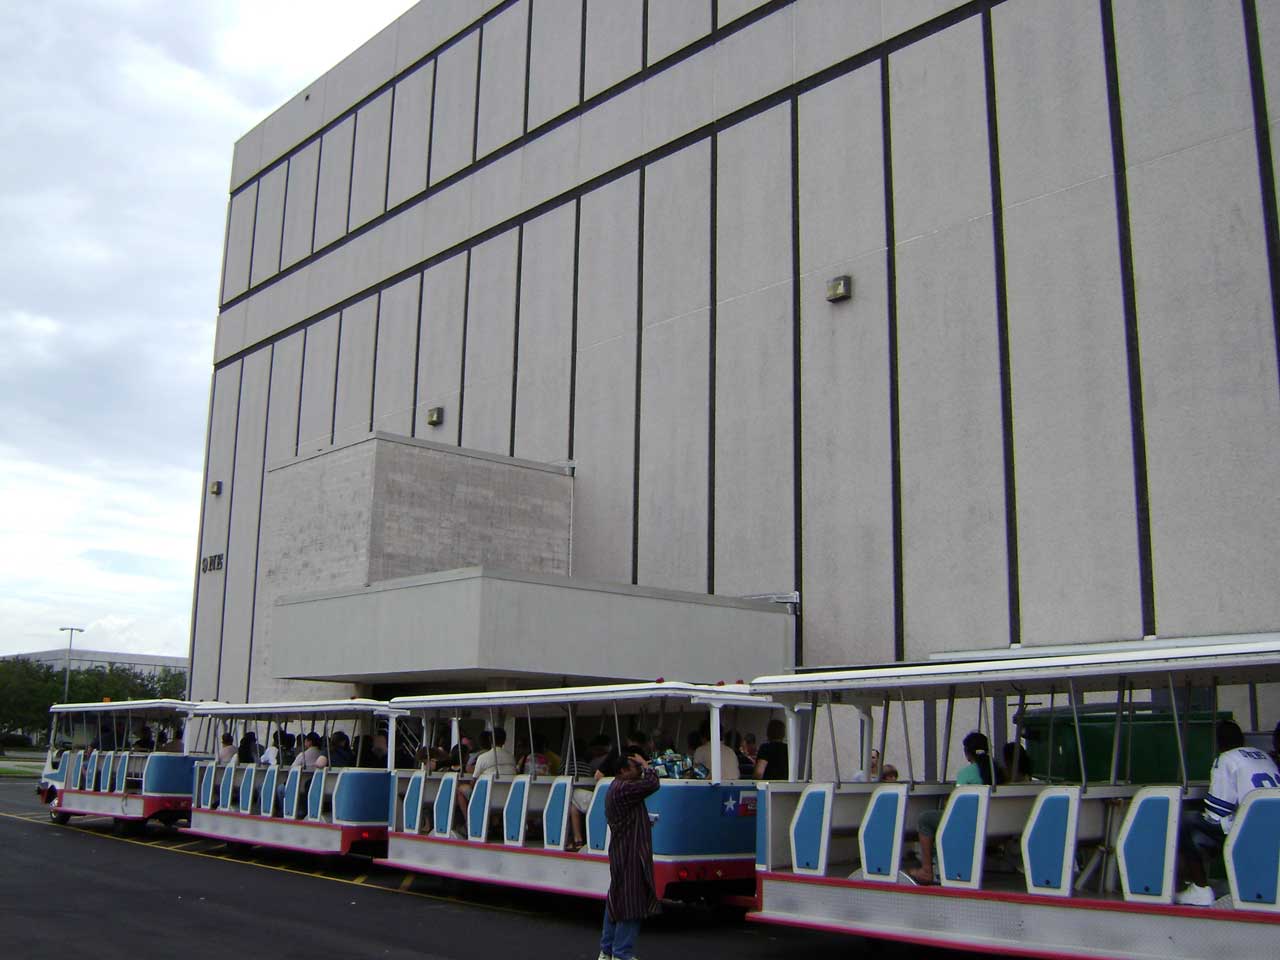
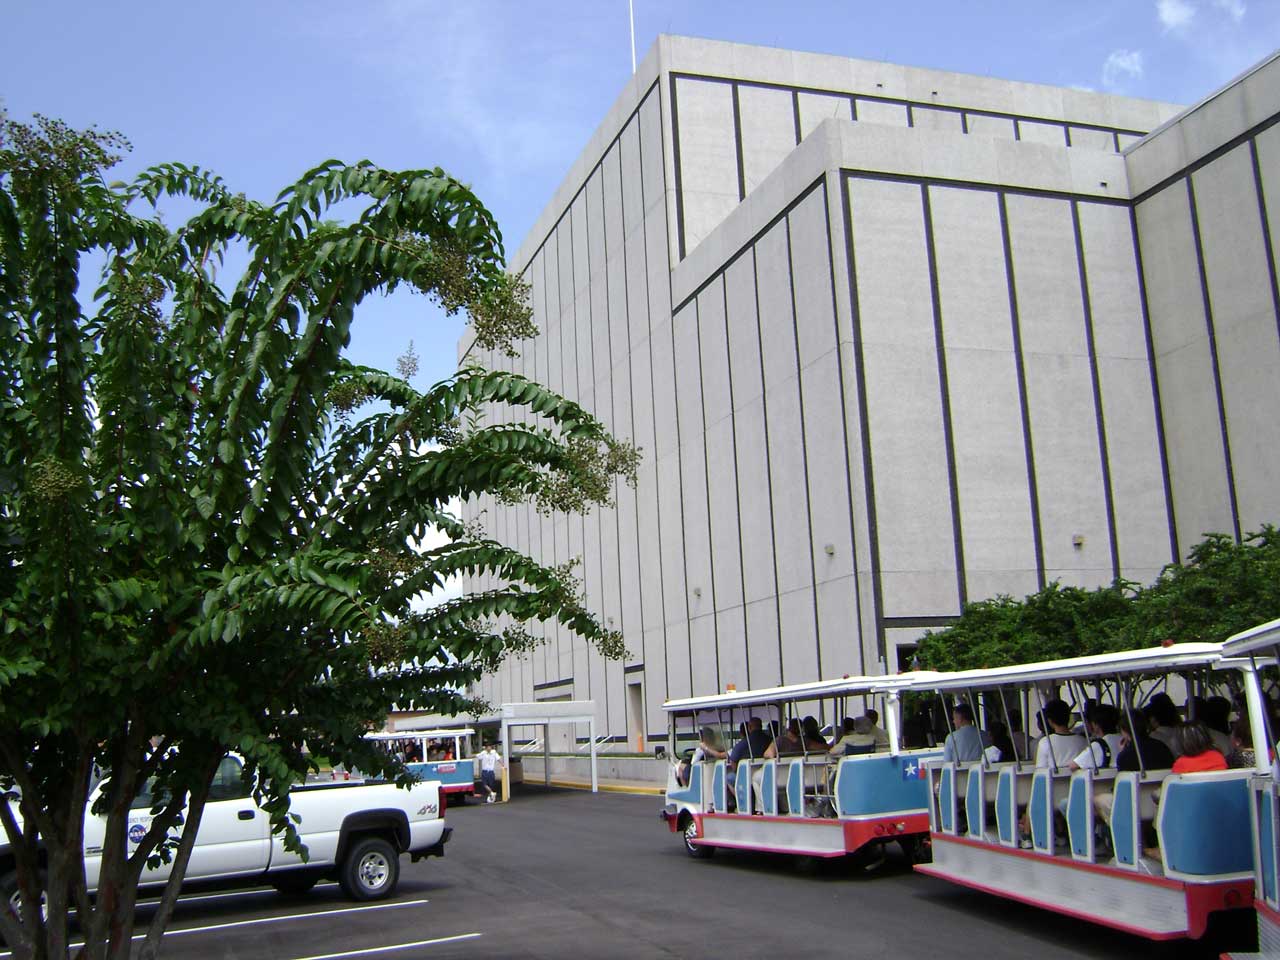
3-1. Tram Tour Stop near Entrance in MCC
|
3-1. MCCの入り口近くのトラムツアー停留所
|
|
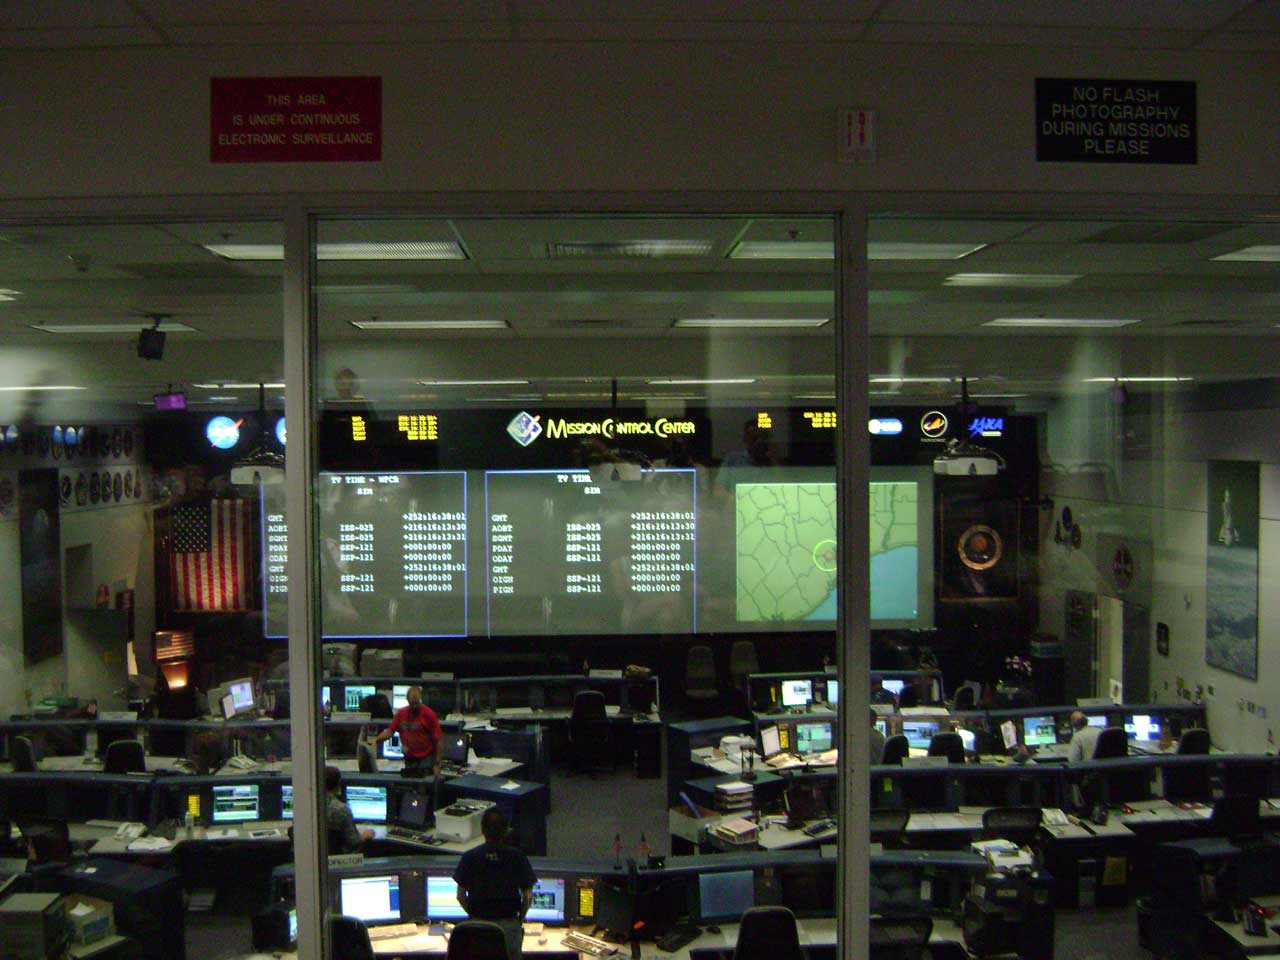
3-2. MCC Operational Room Tour Place
|
3-2. MCC運用管制室の見学場所
|
|
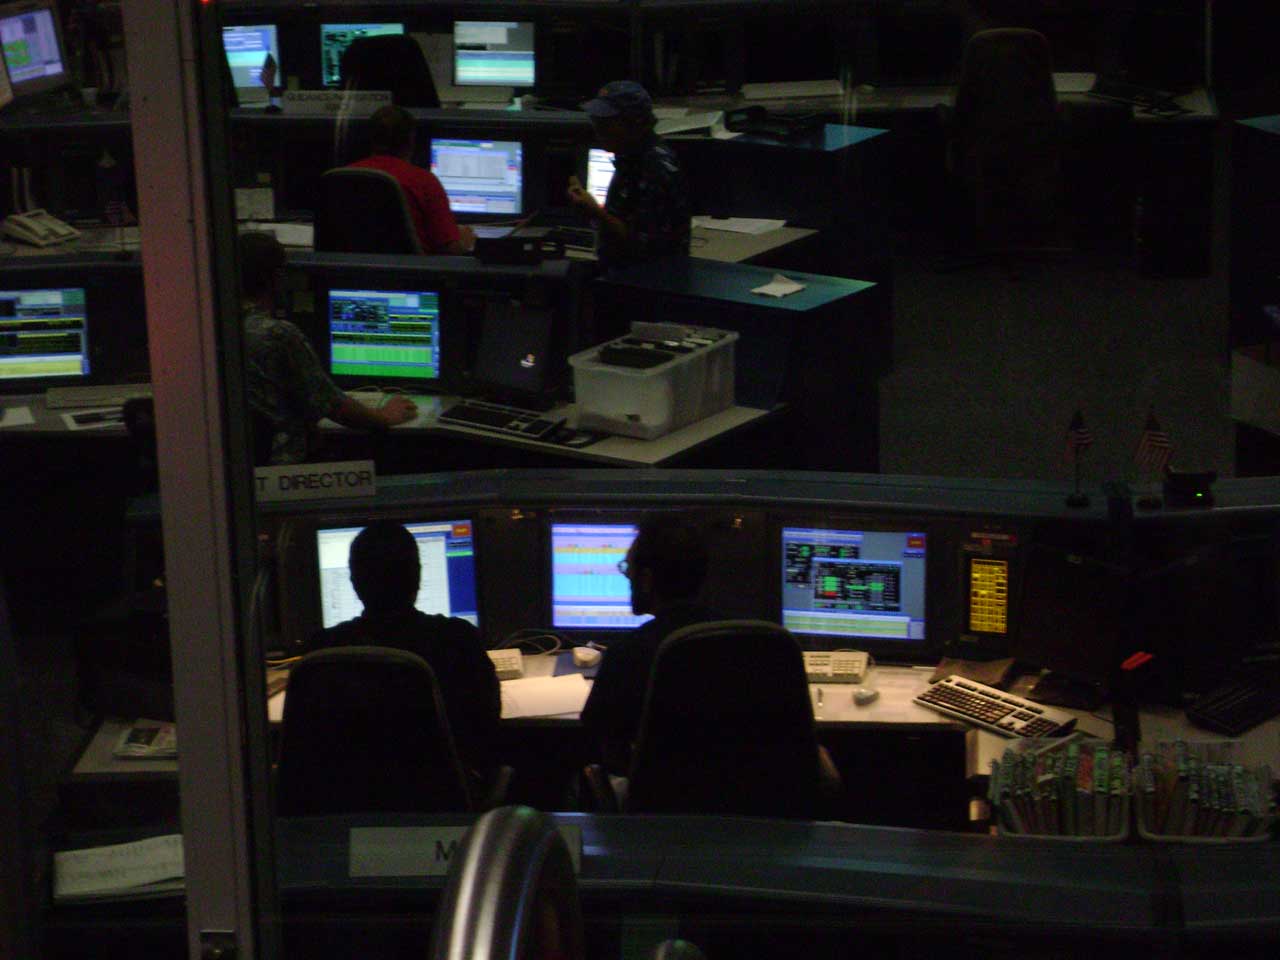
3-3. Flight Director Seat
|
3-3.フライト・ディレクターの席
|
|
3-4. Main Screen in MCC Ope. Room
|
3-4. MCC運用管制室のメイン・スクリーン
|
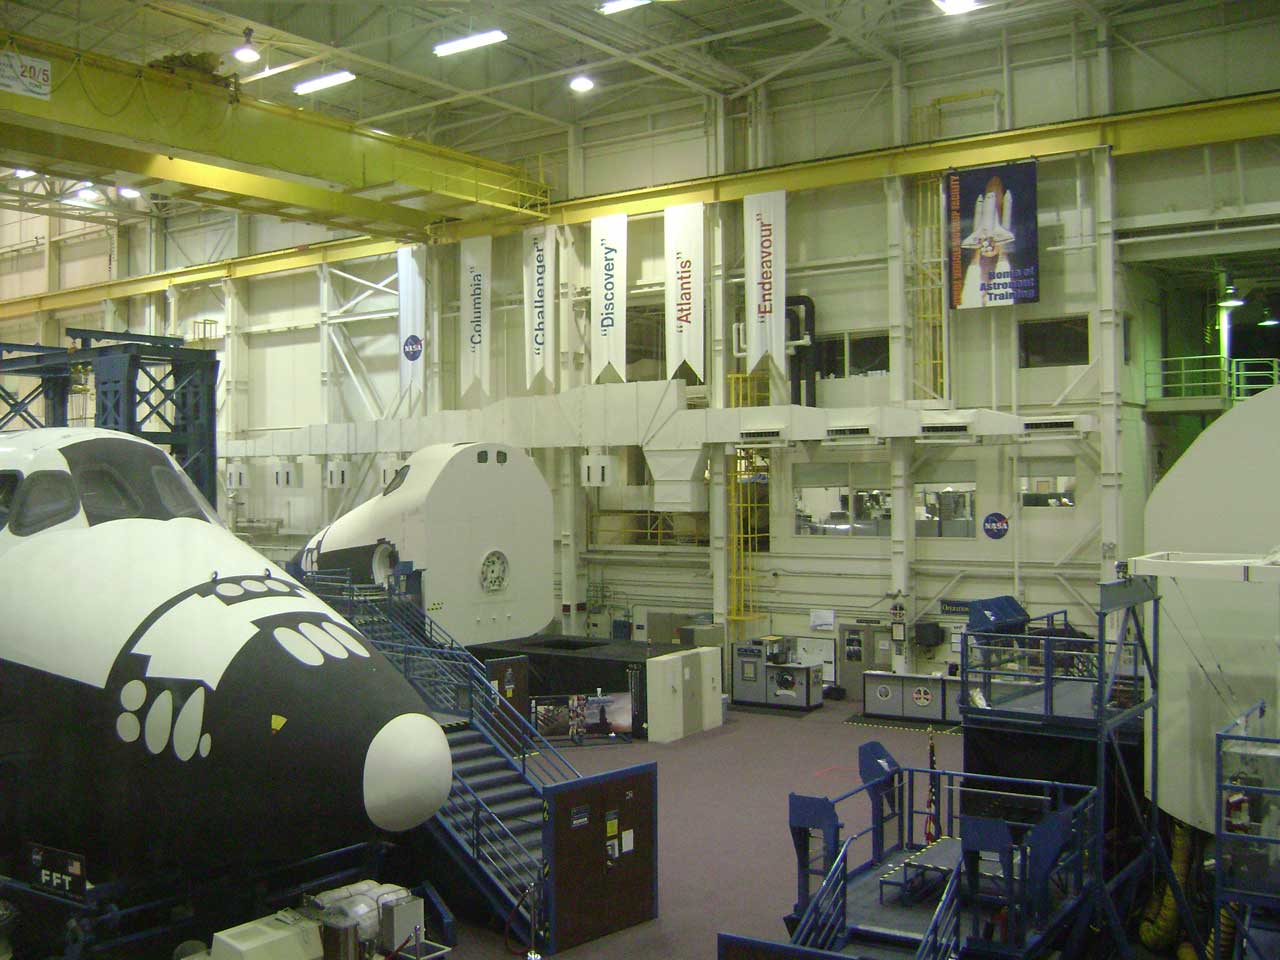
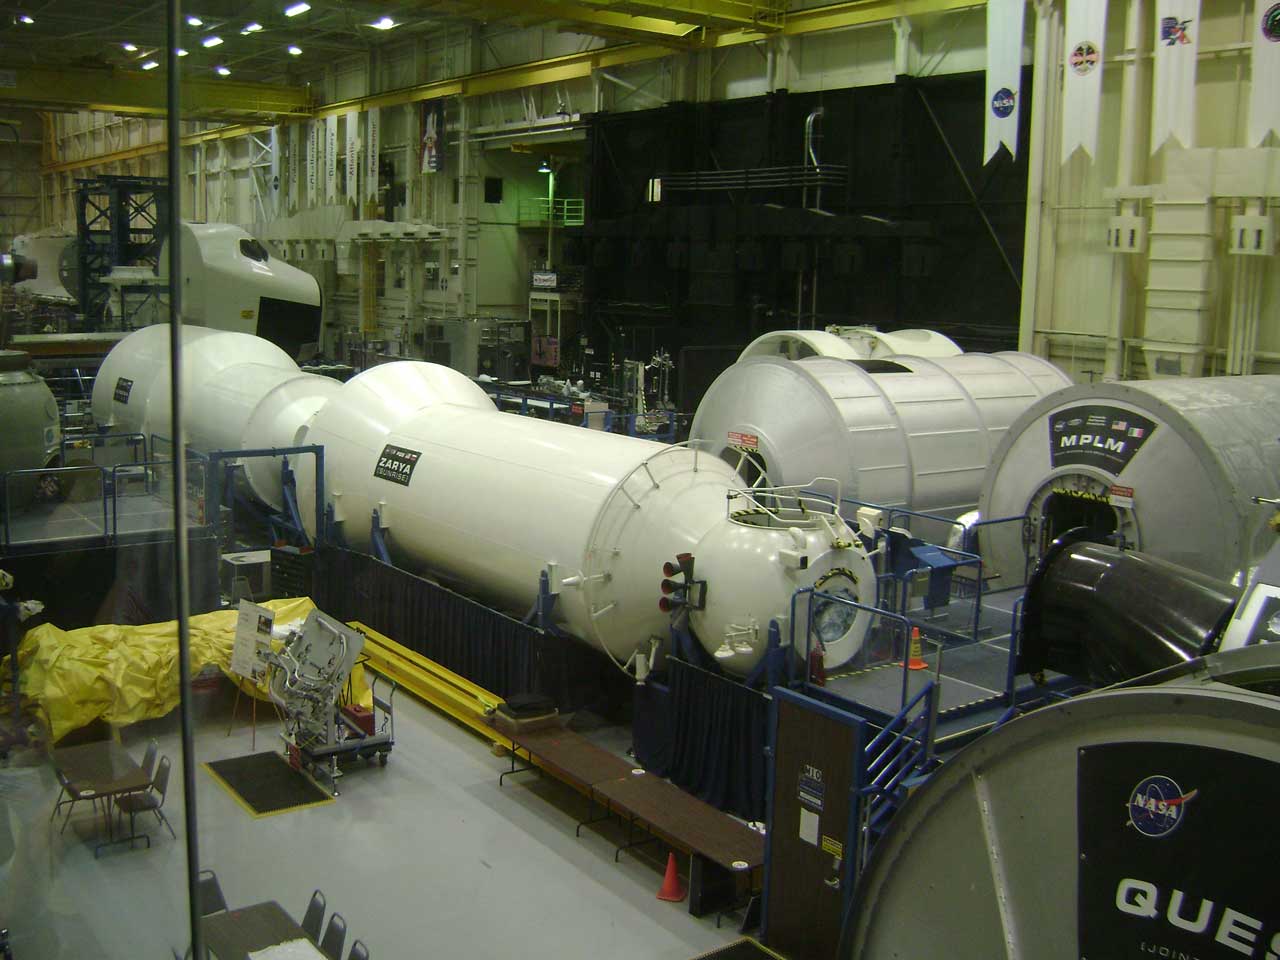
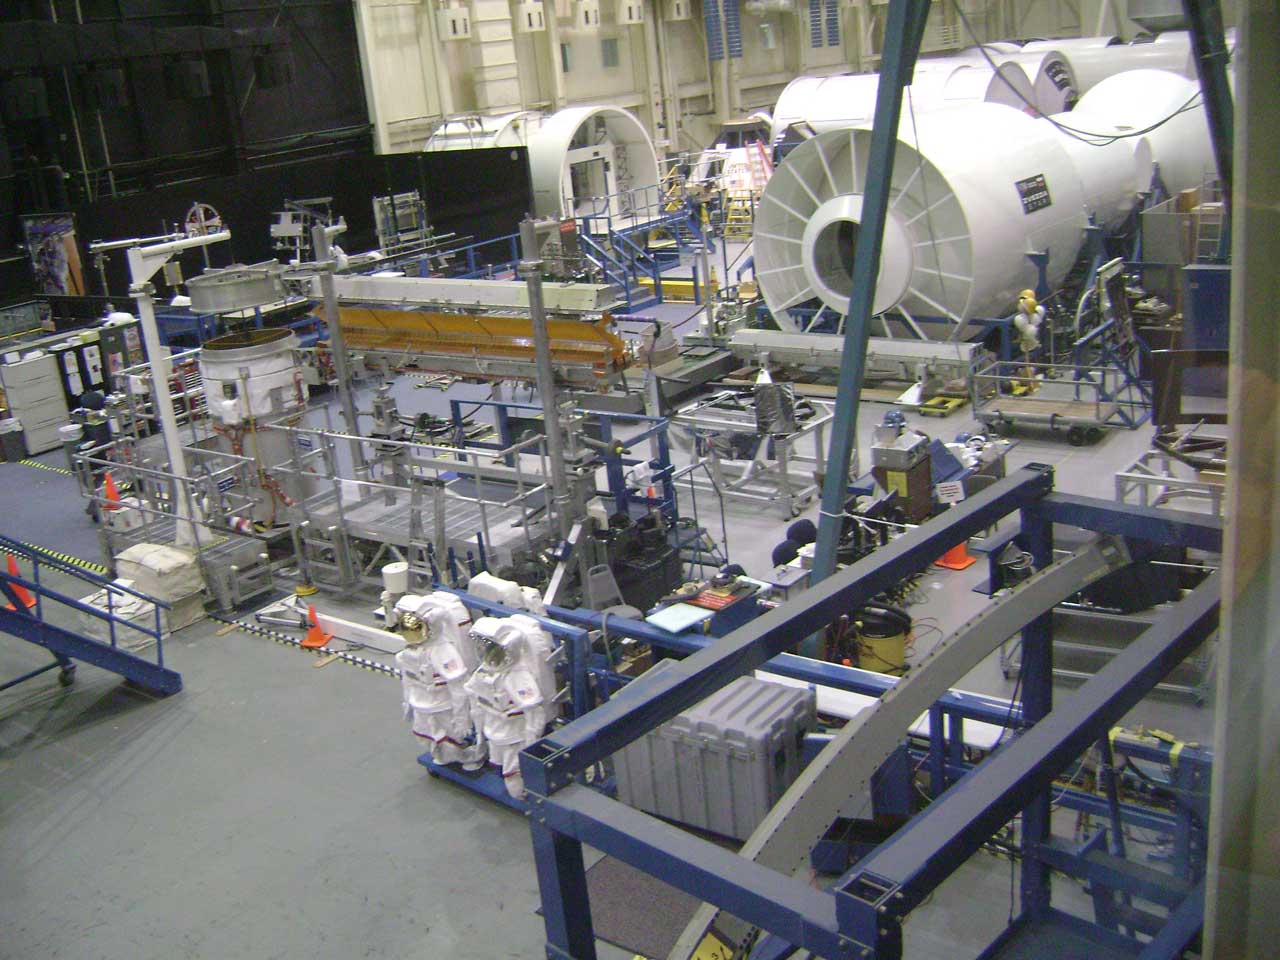
4.SVMF(Space Vehicle Mockup Facility) Room
- The Space Vehicle Mockup Facility (SVMF) is a large open space area located inside Building 9 of Johnson Space Center in Houston.
- It consists of a long 200 meter long chamber that houses several Space Shuttle mockups, as well as mockups of every major pressurized module on the International Space Station.
- It is primarily used for astronaut training and systems familiarization.
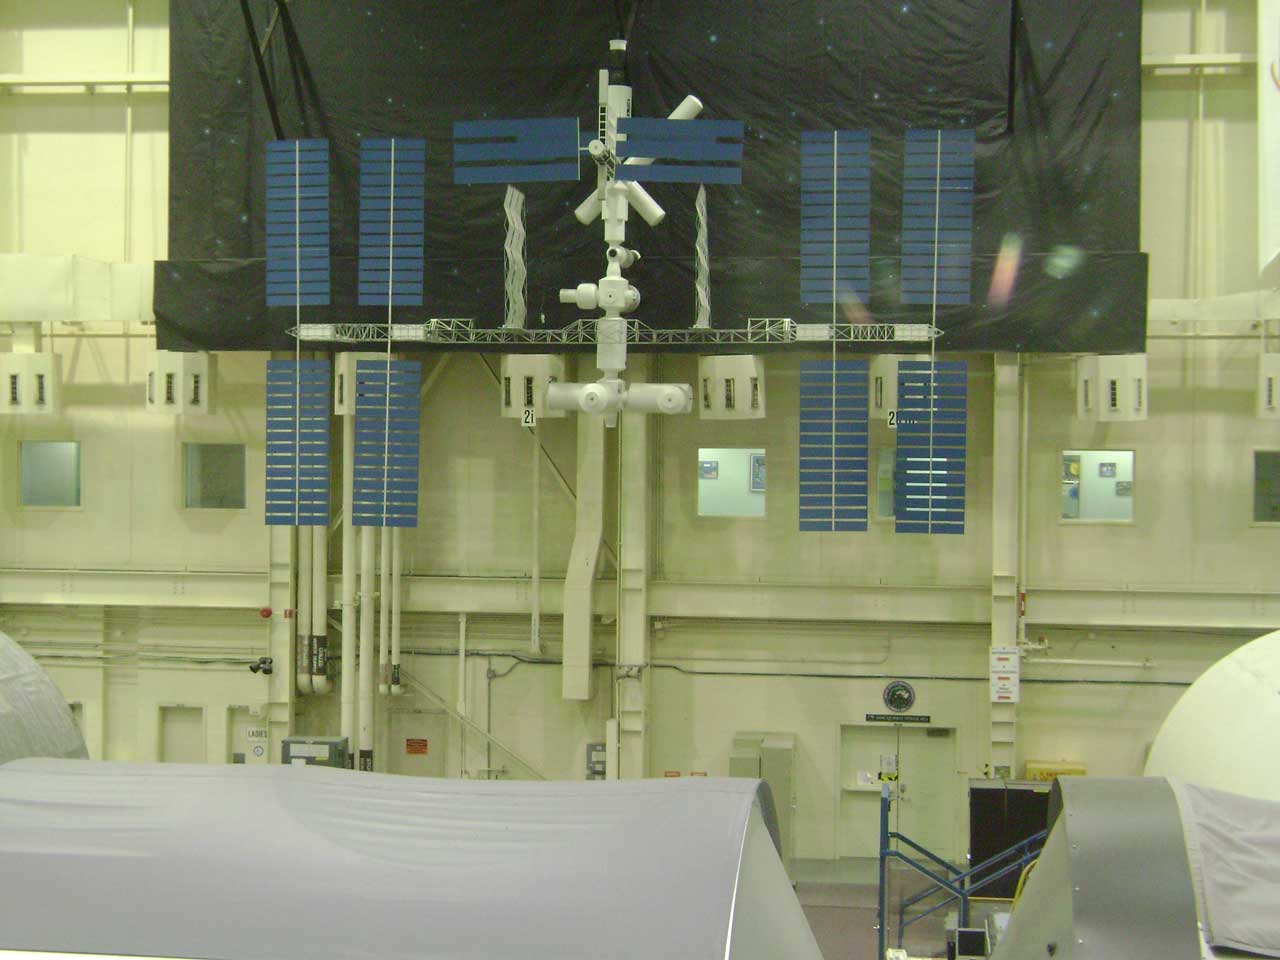
- The International Space Station modules are 1:1 scale and are maintained as accurate as possible to the real spacecraft in orbit.
- The facility also has a 1/6th gravity simulator and Mars Rover test vehicles.
- An industrial door at the North End, and overhead cranes allows the installation of new mockup spacecraft to be loaded into the facility.
- Space Center Houston allows a level 9 VIP tourist access to the entire training facility.
Photo |
Caption |
説明 |
|---|---|---|
|
4-1. Overview #1 inside SVMF
|
4-1. 宇宙船モックアップ施設内の外観1
|
|
4-2. Overview #2 inside SVMF
|
4-2. 宇宙船モックアップ施設内の外観2
|
|
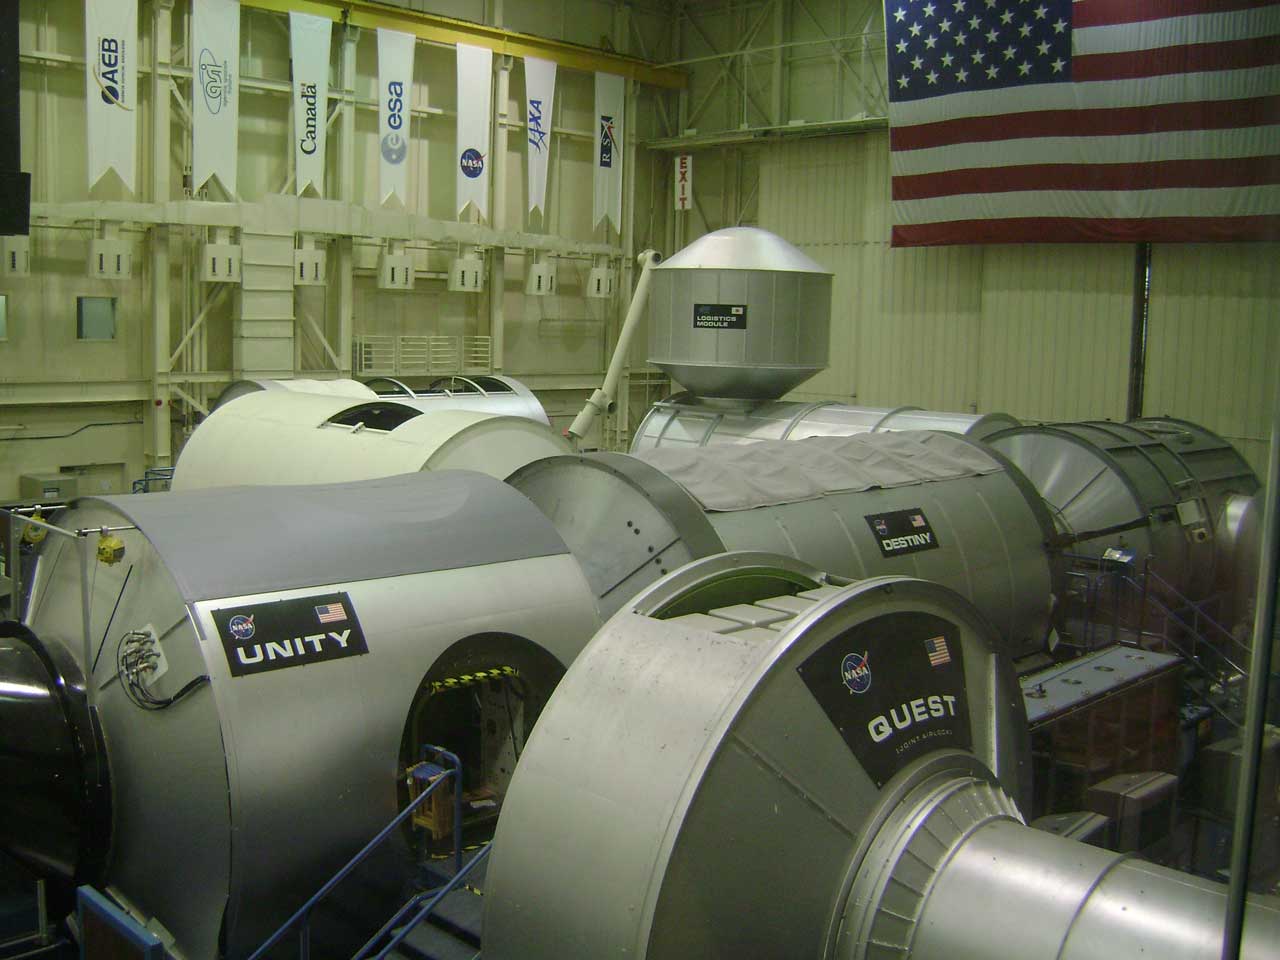
4-3. ISS Module UNITY & Others
|
4-3.ISSの米国モジュールUNITY他
|
|
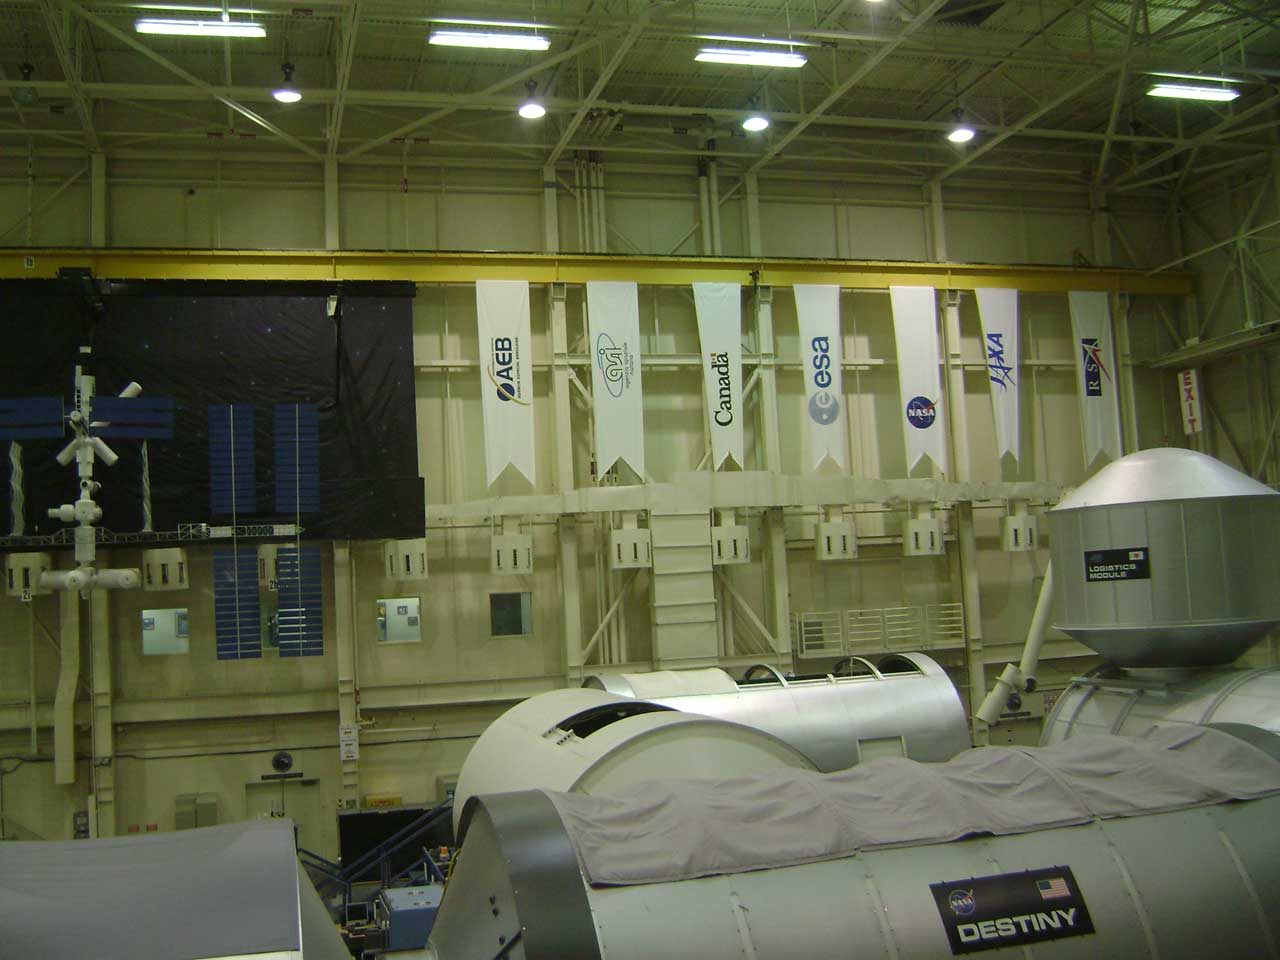
4-4. ISS Module ZARYA & Others
|
4-4.ZARYA & MPLM
|
|
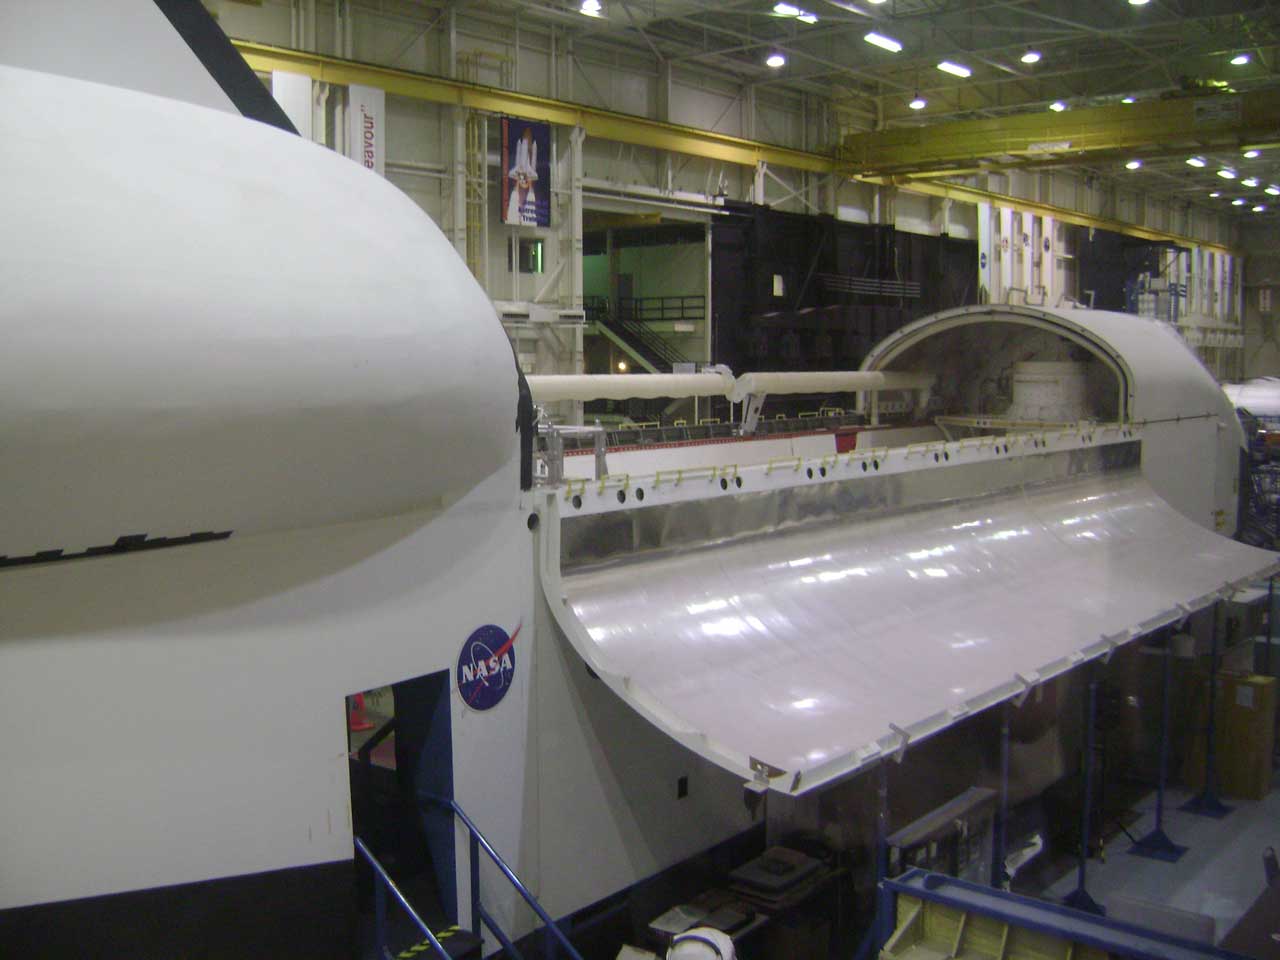
4-5. STS Cargo Bay
|
4-5.スペースシャトル・カーゴベイ
|
|
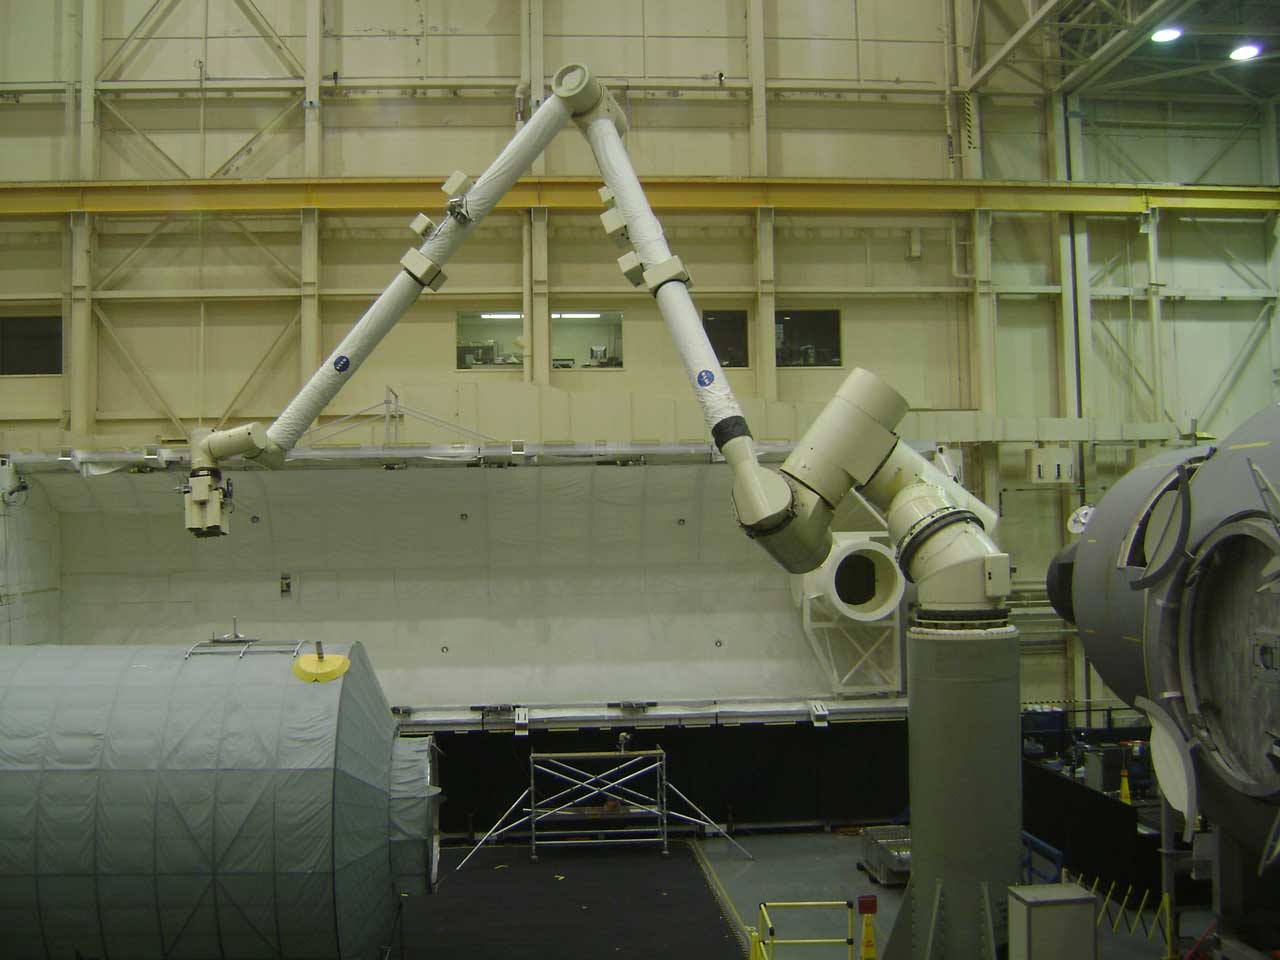
4-6. Canadarm
|
4-6.カナダ・アーム
|
|
4-7. ISS
|
4-7.ISS
|
|
4-8. Other Experimantal Place #1
|
4-8.その他の実験施設1
|

|
4-9. Other Experimantal Place #2
|
4-9.その他の実験施設2
|
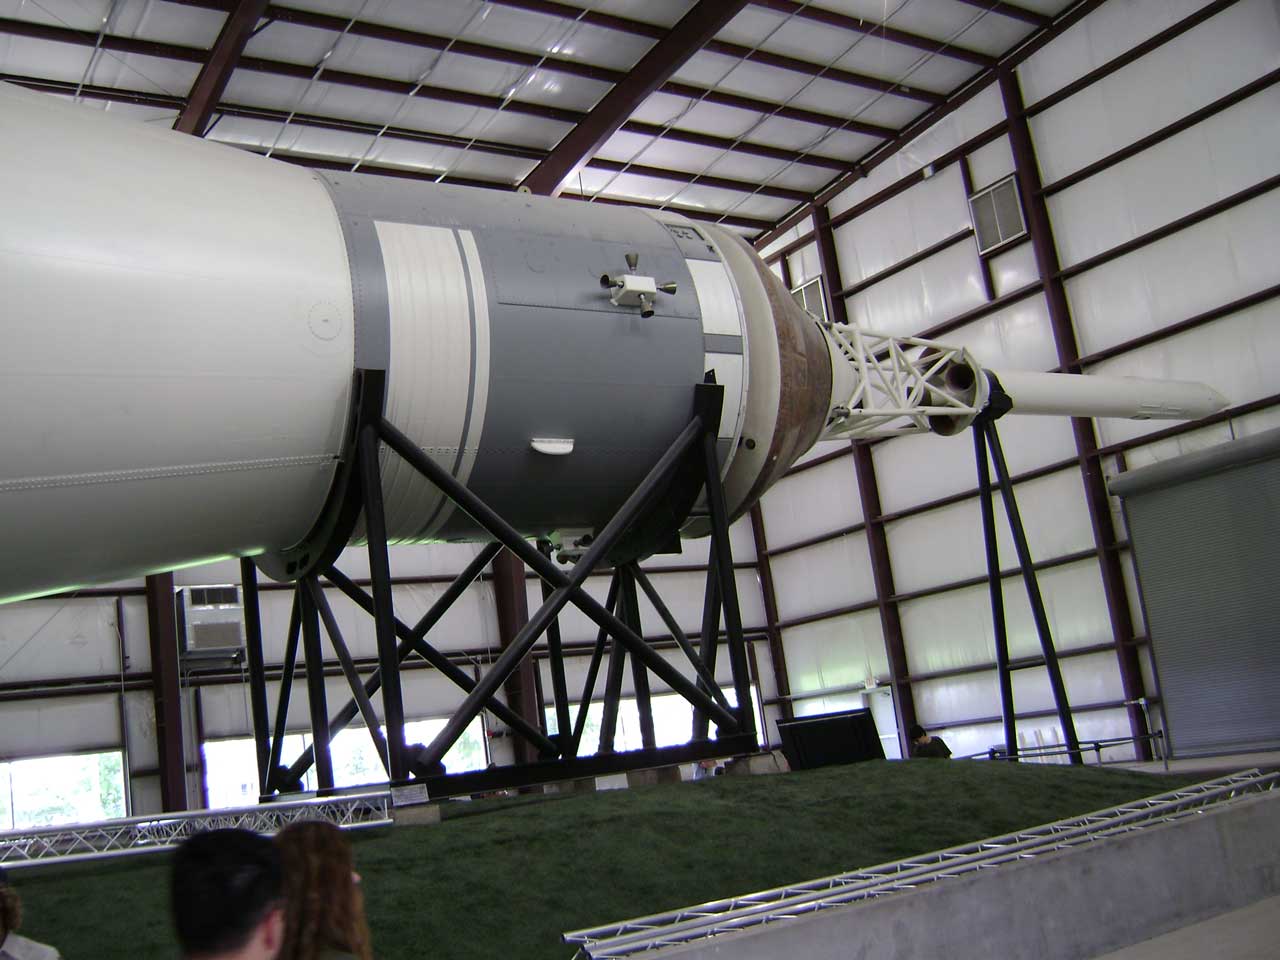
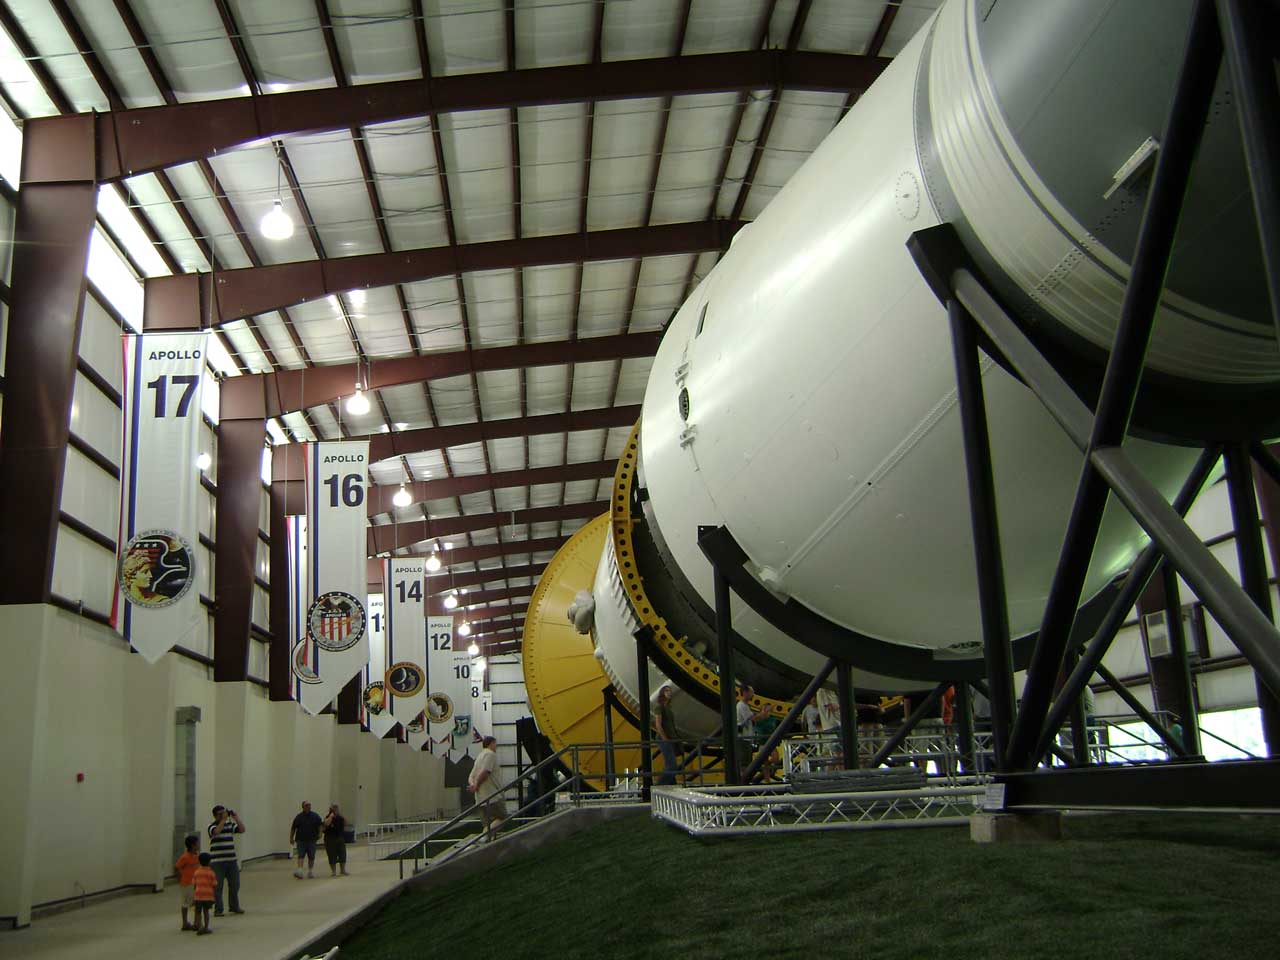
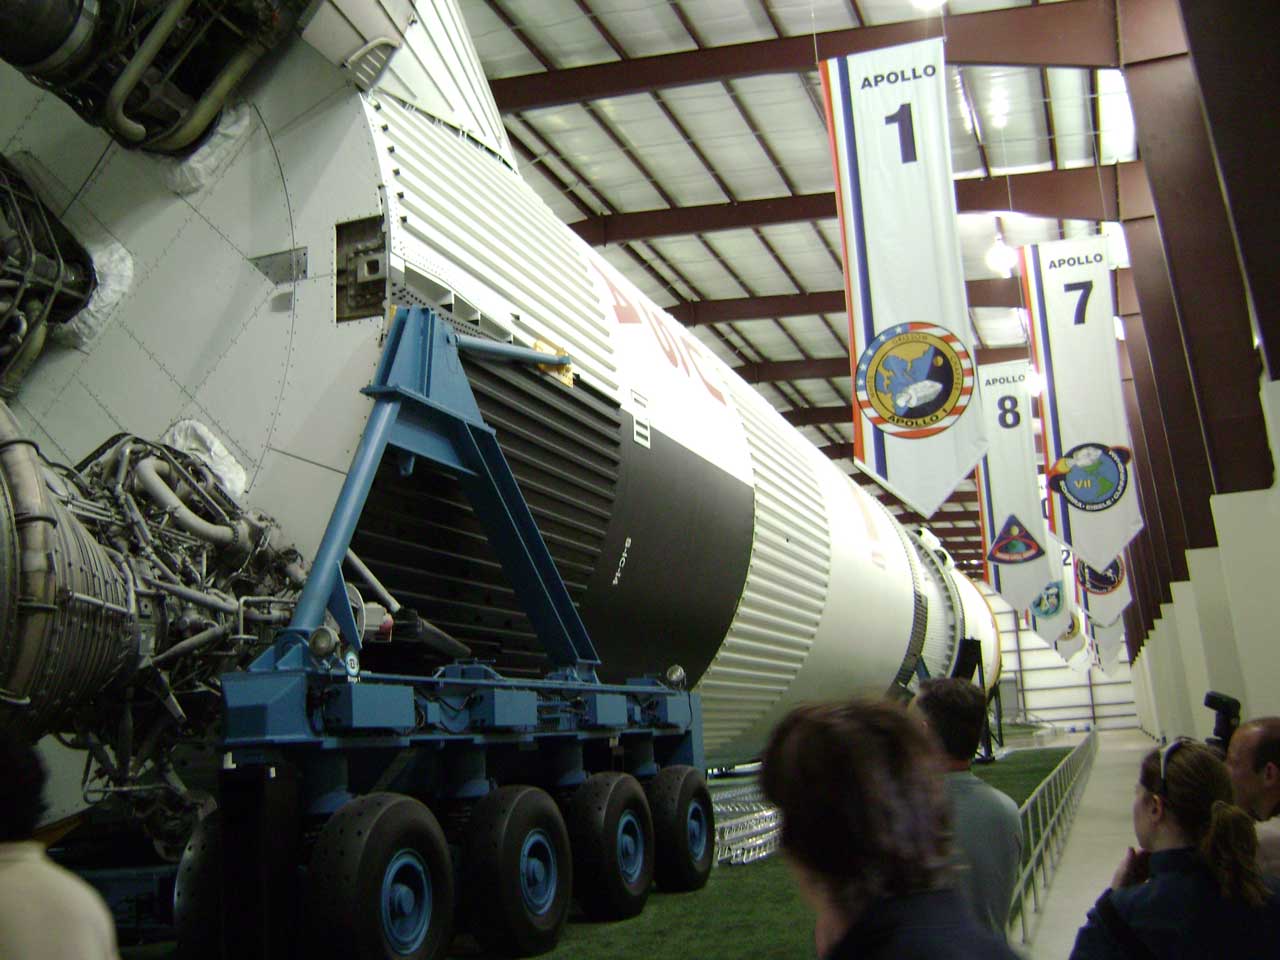
5.Rocket Park Room
- Photos below were taken at Rocket Park of Johnson Space center in Houston.
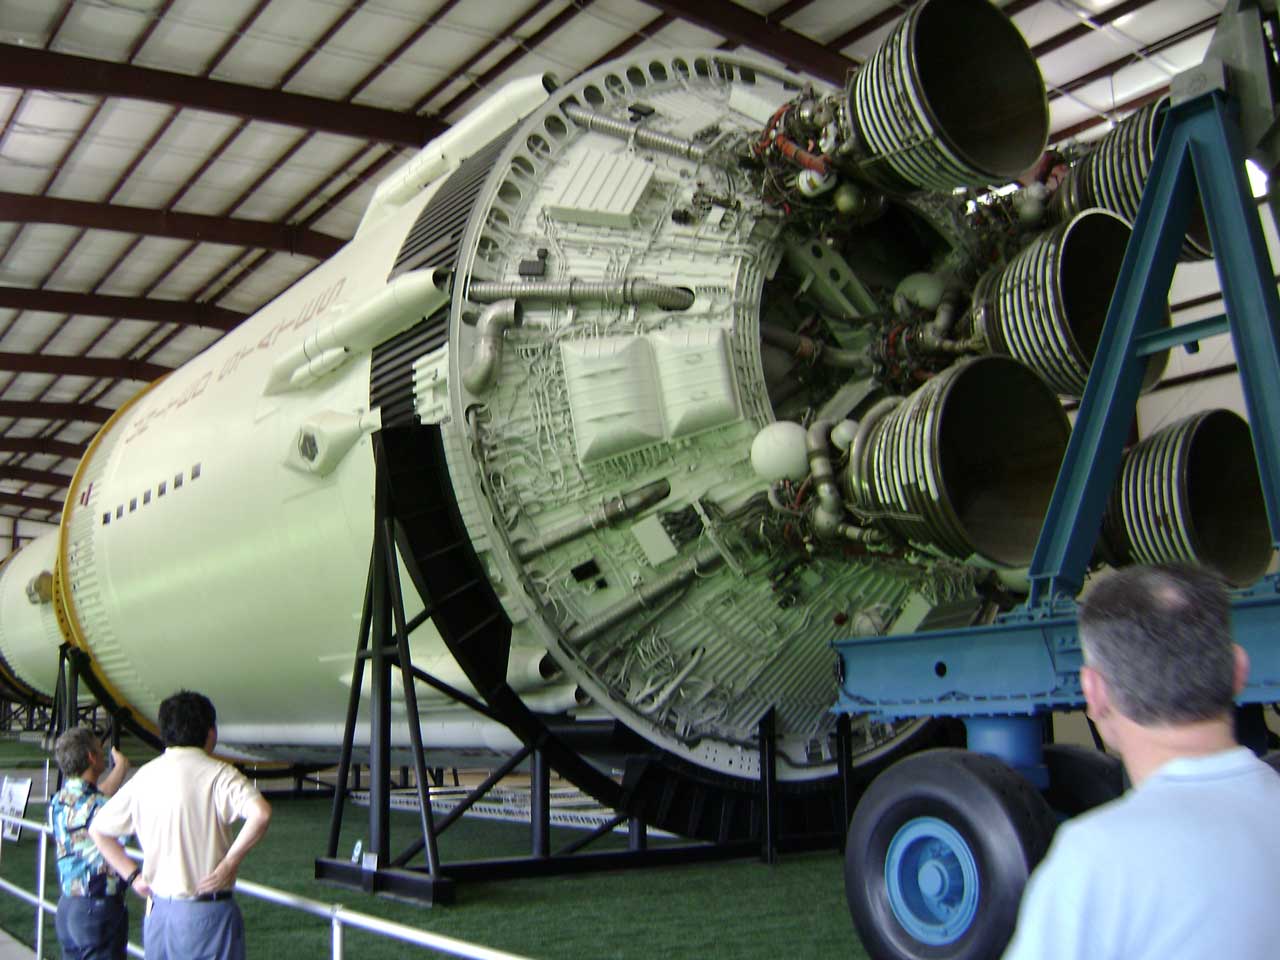
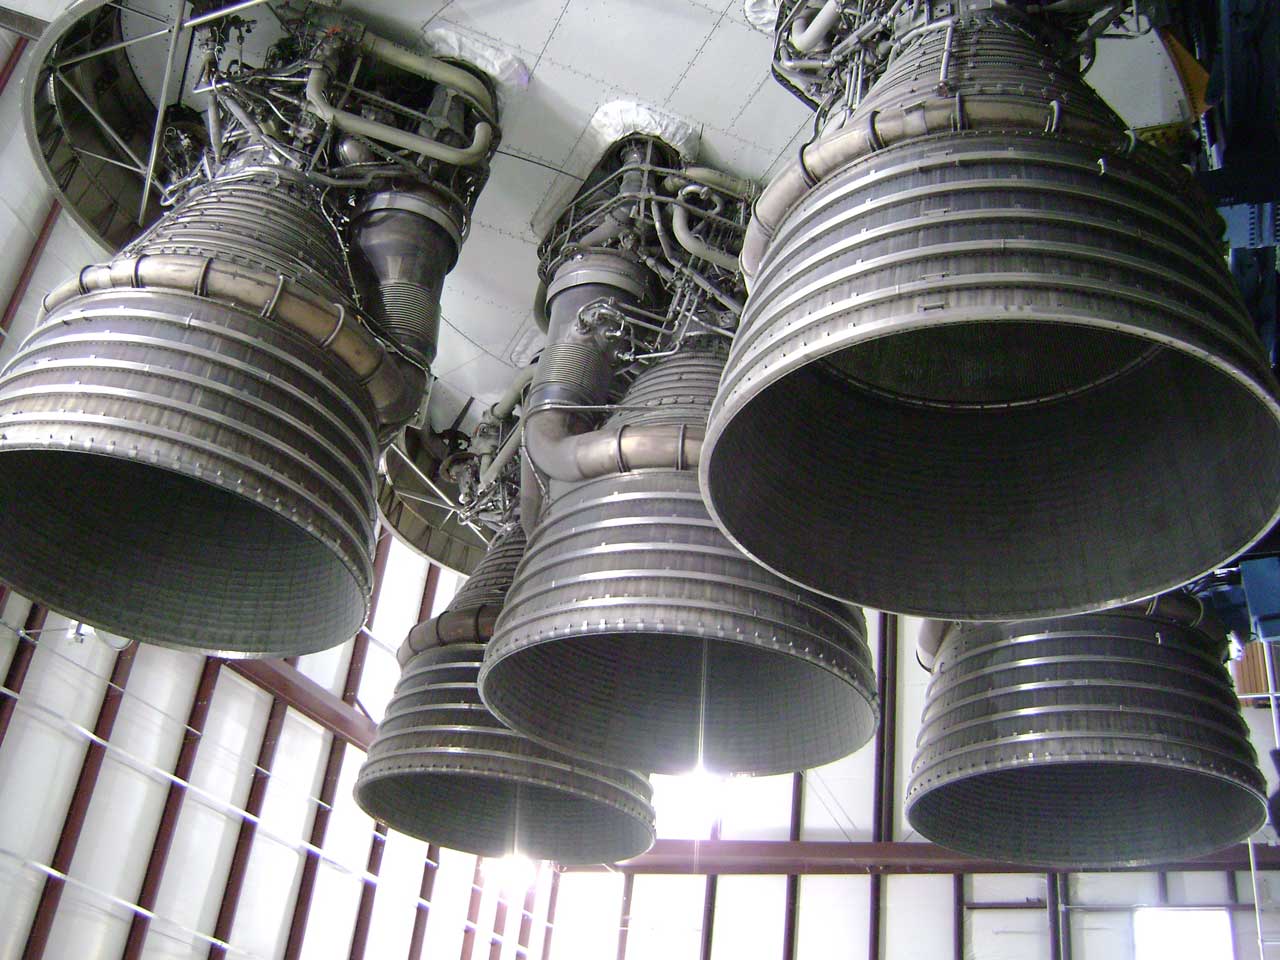
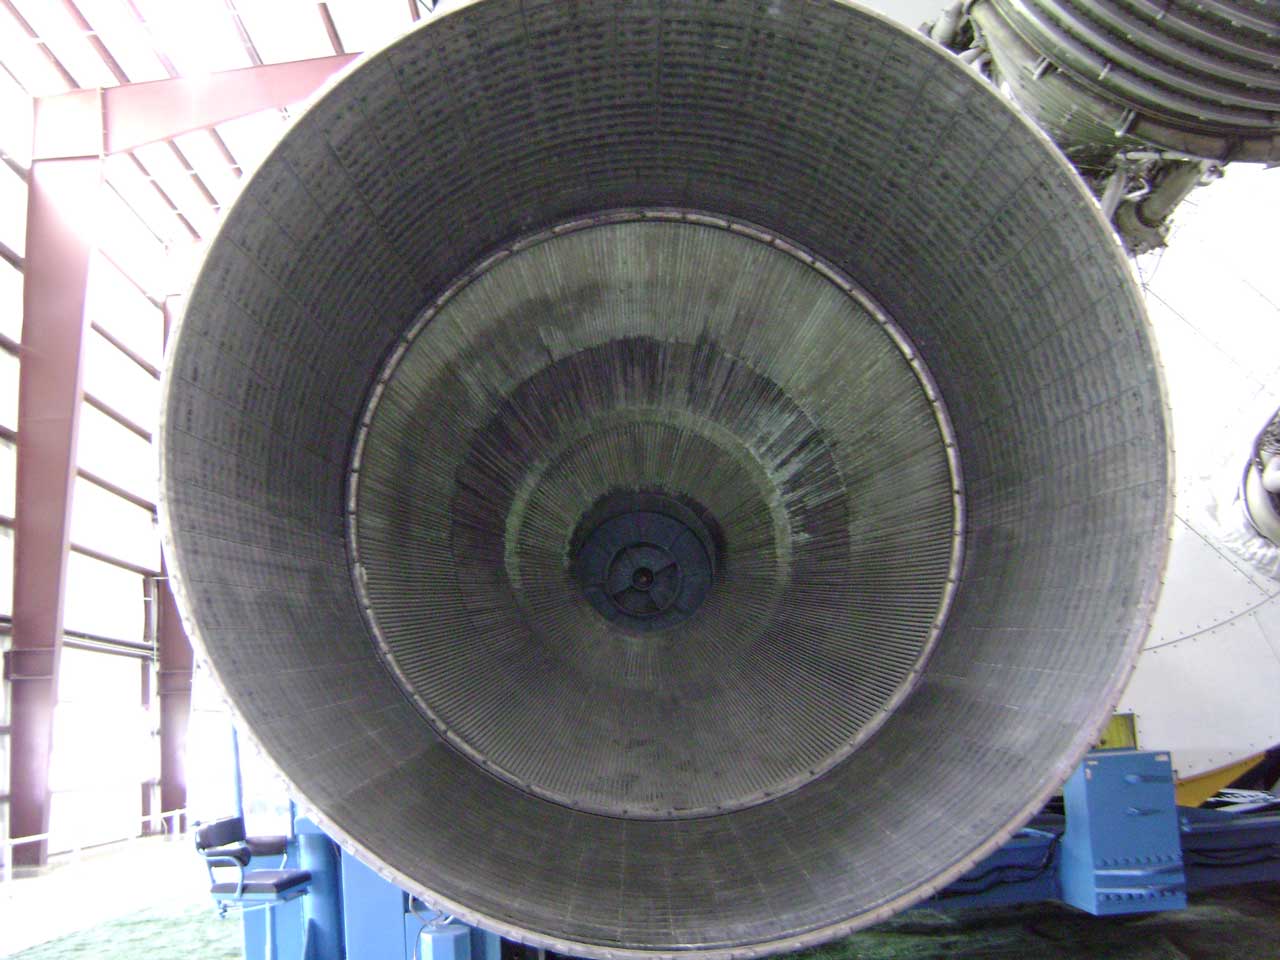
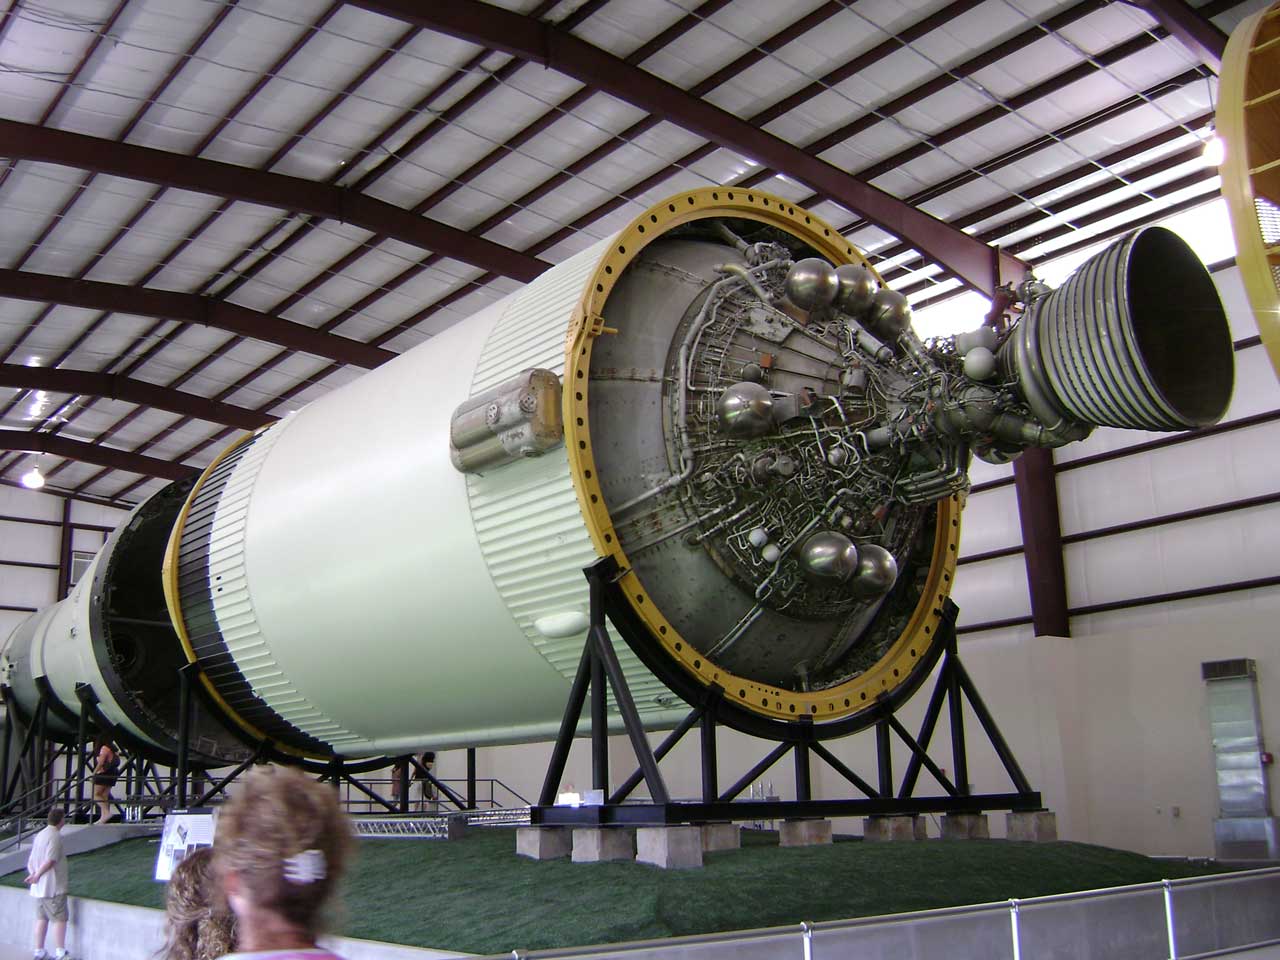
- Saturn V rocket is displayed at the Rocket Park.
Photo |
Caption |
説明 |
|---|---|---|
|
5-1. LES on Tip of Saturn V
|
5-1. 打上げ緊急退避システムLES
|
|
5-2. Left Side View of Saturn V and Apollo Flags
|
5-2. サターンVロケットの左サイドビューとApolloフラグ
|
|
5-3. Right Side View of Saturn V and Apollo Flags
|
5-3. サターンVロケットの右サイドビューとApolloフラグ
|
|
5-4. S-IC
|
5-4.S-IC
|
|
5-5. Close up of S-IC Injection Nozzles
|
5-5.S-IC噴射ノズルの拡大
|
|
5-6. Close up of Injection Nozzle in F-1 Engine
|
5-6.F-1 エンジンの噴射ノズルの拡大
|
|
5-7. S-IV B
|
5-7.中段ロケットS-IV B
|